Discovering that your air conditioning unit is only expelling hot air when you’re trying to decrease the AC temperature is an experience best avoided. Remember, the period from June to August in Ohio is characterized by the peak of heat and humidity, marking it as the hottest and wettest season. So, if you are currently dealing with a malfunctioning air conditioner, it can understandably you may in fact feel as if you are melting.

Jokes aside, we fully recognize the urgency of restoring your air conditioner to operational status, as it ranks as a critical priority. A working air conditioner is more than just about comfort; it’s pivotal for ensuring your health and safety, as it also facilitates proper airflow and circulation throughout your home. When these aspects are compromised, it can negatively affect your home’s indoor air quality.
With Beavercreek Heating & Cooling’s practical troubleshooting steps, you can discover why your AC might not be blowing cool air. As your trusted local experts, we’ll dive into the most common reasons behind your AC’s lack of cool air and guide you through the best troubleshooting methods.
You Can Troubleshoot By:
Checking the Thermostat
First, focus on the thermostat—it’s the heart of your HVAC system. A faulty thermostat can disrupt the whole operation by miscommunicating with your HVAC system, thus impacting your AC’s functionality. Many HVAC issues stem from thermostat problems. So, if you’re experiencing AC troubles, the solution might just be thermostat-related.
- Make sure your thermostat is switched on and operational. It might be necessary to replace the batteries if your model requires them.
- Secondly, verify that your thermostat is not mistakenly set to “heat.”
- Lastly, it’s important to set the thermostat to “auto” instead of “on.”
Checking the Breaker
Is your AC unit operational? There’s a chance the breaker switch has tripped, causing a disruption. If your unit is emitting warm air, it might not be a pressing issue for you. Nevertheless, it’s always prudent to perform a quick check to ensure everything is functioning as it should.
Circuit breakers are strategically placed in areas of the home that see less foot traffic, such as the basement, garage, or utility closet. Try inspecting your breaker to pinpoint if it has been tripped by the air conditioner. If this is the case, simply switching it back to the “on” position may rectify the situation. If this resolves your issues – great! But it’s worth mentioning that if your unit frequently trips the breaker, it might indicate a more serious underlying issue that demands the attention of a certified professional.
Checking the Air Filters
While a clogged air filter might not initially appear as a significant concern, neglecting dirty air filters can lead to considerable complications. An air filter burdened with dust and airborne pollutants restricts airflow, leading to a cascade of problems affecting vital components such as the motor, fan, or compressor. Therefore, regular maintenance and timely replacement of air filters are crucial to ensuring the longevity and efficiency of these systems.
It’s imperative to stay on top of replacing your air filters every 1-3 months, a schedule that depends on your specific air filter type, whether pets reside in your home, and the frequency of system use. Since you are currently dealing with a faulty AC, we recommend taking a moment to inspect your air filters to ensure they are not in need of replacement. A timely filter change might just resolve your issue with warm air. If this step doesn’t fix the problem, please proceed to the next step.
Checking the Evaporator Coils
In connection with the above step, it’s imperative to recognize the significance of maintaining a clean air filter. This is because a clogged filter can result in the accumulation of dust or loose debris on the evaporator coil. And when evaporator coils become dirty, their efficiency in absorbing heat from the air drastically decreases. This then impedes the crucial heat exchange process necessary for cooling. So, ensuring these components are clean is essential for optimal air conditioning performance.
For optimal performance and longevity of your system, a regular check of the evaporator coils is crucial. If you notice any accumulation of dust or debris, a gentle cleaning is advisable. For comprehensive guidance on how to meticulously clean your evaporator coils, please visit this link.
Checking for a Refrigerant Leak
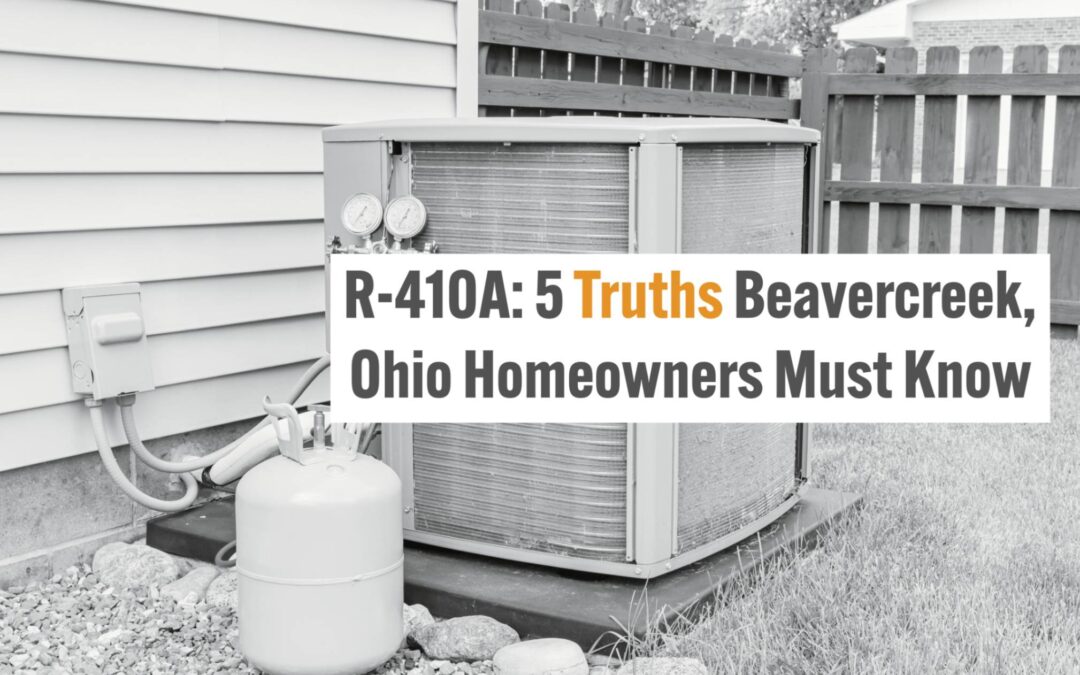
Just as your vehicle relies on coolant for its air conditioner to deliver cool air, your home’s air conditioning system operates on a similar principle. The key to your AC’s ability to efficiently exchange heat for cold lies in its refrigerant. Should the levels of this refrigerant drop—perhaps due to a leak, or maybe the supply is just low—the consequence is that your system will instead circulate warm air. These types of situations underscore the importance of regular maintenance to ensure optimal performance and avoid the discomfort of inadequate cooling.
If you’re not an HVAC technician, chances are you can’t legally get your hands on the refrigerant your air conditioning system needs. It’s smarter to leave this kind of troubleshooting to the professionals. However, it’s wise to stay alert for any obvious signs that your refrigerant might be low or leaking. Keep an eye out for these indicators:
- Bubbling or hissing sounds when the AC is not in use
- A lack of cool air emanating from your vents
- Ice formation on your evaporator coils
Checking the Condenser (Outside Unit)
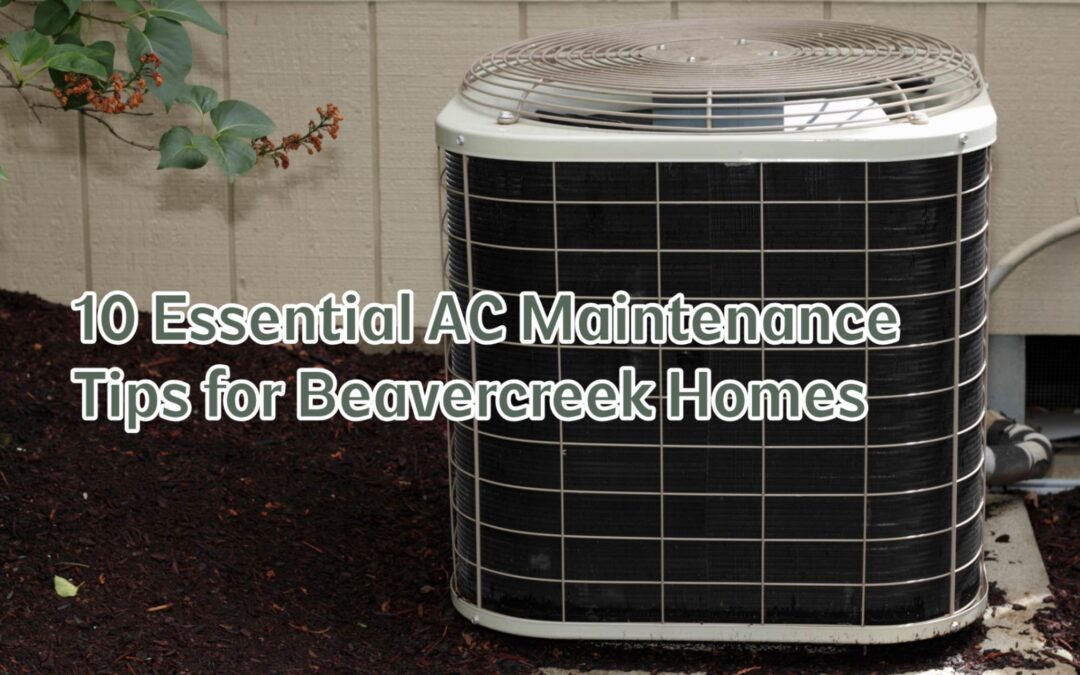
Finally, let’s address your outdoor unit, which is called the condenser. It’s crucial to understand that when the coils of a condenser become caked in dirt, their ability to expel warm air from your home diminishes significantly. This inefficiency can lead to a noticeable decrease in cool air circulation. If neglected, this issue may not only persist but can also cause considerable damage to the condenser unit over time.
If you discover that your condenser coils are coated in grime, the first step is to ensure the power supply to the unit is safely turned off. Remember, safety always comes first. Then, with gloves on for protection, gently wash away the debris using a water hose, opting for a softer setting such as “shower” or “flat” to avoid damage. It’s crucial to avoid the “spray” setting to prevent harm to the coils.
- If you discover that your condenser coils are coated in grime, the first step is to ensure the power supply to the unit is safely turned off. Remember, safety always comes first. Then, with gloves on for protection, gently wash away the debris using a water hose, opting for a softer setting such as “shower” or “flat” to avoid damage. It’s crucial to avoid the “spray” setting to prevent harm to the coils.
- Make sure to securely grasp the hose and commence the rinsing process from the condenser’s bottom, progressively moving an inch at a time across the coils from left to right. It’s important to proceed with caution and thoroughness, as hurrying through this process could potentially damage the unit.
- Bear in mind that for a more comprehensive cleaning, your HVAC technician is equipped to address the finer details of the condenser during your upcoming routine maintenance and safety inspection. This ensures your unit runs efficiently and extends its lifespan, safeguarding your investment in your home’s comfort.
Get your air conditioning system ready for Ohio’s heat with your Beavercreek Heating & Cooling family. Call us at (937) 708-8527, or schedule an appointment online now by clicking here!


